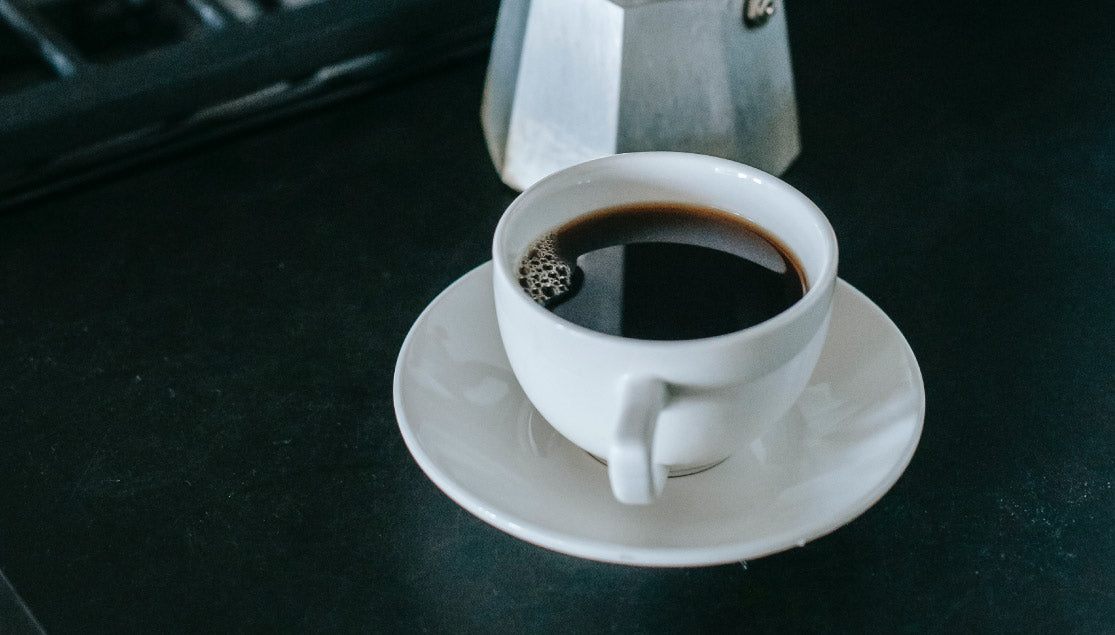
The Good Old-Fashioned Coffee Percolator
Let’s get a little nostalgic for a minute and talk about the good old-fashioned coffee percolator. Before drip coffee makers made their way onto most kitchen countertops in the mid-twentieth century, percolators were the gold standard for at home coffee drinkers. While their popularity isn’t what it once was, many people still love and prefer this brewed coffee method today. It’s time to dig into your grandma’s cabinet and pull that percolator out tomorrow morning!
How Does a Coffee Percolator Work?

A coffee percolator is a rather basic coffee brewing device. Developed in the early 1800s, the device consists of a bottom chamber and a tube that runs from the bottom chamber to a perforated top chamber. Simply, water is placed in the bottom chamber which sits on top of a heating source and as the water heats up, the near-boiling water makes its way up the tube where it is dispersed over coffee grounds in the top chamber to slowly drip back down into the bottom. Traditionally, this process continues until the coffee reaches a steady boil or the desired coffee color or brew time has been reached. In electric versions, the brew will be automatically stopped once completed.
How is a Coffee Percolator Different from a Moka Pot?
While Moka Pot and Percolator coffee might seem very similar on the surface, they are actually quite different. Aside from both being popular manual brew methods that produce coffee on the stovetop, that’s where the similarities end. Moka Pot coffee is small and heavily concentrated, similar to espresso and requires finely ground coffee with a quick brew time, only a few minutes. Percolator coffee is completely the opposite, using a coarser grind with longer brew time and a resulting cup similar to drip coffee.
7 Step Percolator Coffee Recipe:
- Dial in your coffee : water ratio – a good rule of thumb is 1g coffee to 10-15g water
- Boil water in a separate device
- Add boiling or near-boiling water into the bottom chamber of the percolator
- Put coarsely ground coffee in the filter basket and reassemble the percolator
- Place the percolator on the stove over medium heat
- Brew until your coffee stops percolating and the sputtering sound stops
- Remove from heat and enjoy immediately!
Pro Tips to Using a Coffee Percolator
For many coffee nerds, the percolator is not a go-to brewing device and has a less favorable reputation for bitter, over-extracted coffee. I happen to think it’s better than many think and certainly has its place in the kitchen and especially when brewing coffee outdoors. Since this is a manual brew method it’s very important that you consider all variables when brewing to get the best your percolator has to offer. Here are some tips.
- Use the right grind size – coarse coffee is needed for this brew method. If your grind is too fine, you will make muddy, bitter-tasting coffee that will need a heck of a lot of cream and sugar to be palatable.
- Consider preheating the water – while many recipes will say to use cold or room temp water in the bottom chamber, hot water will speed up the brew time and minimize the chances of over-extraction.
- Watch your brew time – while some will show little attention to their percolator and get to it when they remember, realize the common brew time is about 7-9 minutes so don’t let that coffee sit on the stove for much longer than that.
- Don’t overfill the bottom chamber – the water should not touch the coffee in the top chamber. This should be a simple one but something you don’t want to get wrong. If you need to brew more coffee, it’s time to get a larger percolator.
- Listen carefully – If you don’t have a glass percolator to easily see when the coffee inside is done, percolators do make a distinct sputtering sound as they brew so as soon as you stop hearing that sound, you know your coffee is ready!
- Remove from heat once completed – over-extraction is the biggest concern with this brew method so once your coffee is done brewing remove it from the stove immediately. If you keep it on the heat source, you are certain to start developing some unpleasant flavors.
- Consider light or medium roast – I recommend selecting a coffee that isn’t quite as developed, something in the light to medium range for this brew method. In my opinion, darker roasts have a greater tendency to deliver less than ideal flavors with a percolator.
- Clean your percolator regularly – a clean percolator is a happy one so make sure to clean it immediately after use. Coffee residue and buildup leads to nasty coffee, which you don’t want!
Fire up the stove, it’s time to get brewing!


